4.3 KiB
pi-remote-control
Disclaimer
This project is for personal use and research only. It is provided as-is, and the author accepts no liability for any damage, loss, misuse, or operational consequences that result from installing or using it. The server has no built-in authentication beyond a session token and no HTTPS on the dynamic port — see Security notes for details. Do not use it for safety-critical, multi-user, or untrusted-network deployments.
Install
pi install https://github.com/goofansu/pi-remote-control
Usage
Run /remote-control to open the menu:
- Turn on / Turn off — start or stop the server
- Configure URL — set the base URL exposed by your local tunnel or proxy, saved to
~/.pi/agent/remote-control.json - Transport — switch between Surge Ponte and Tailscale
- Status — show the QR code and connection URL (only when server is running)
Note: On first use, you must configure the URL (Surge Ponte) or have Tailscale running before the server can start.
To start the server automatically on launch:
pi --remote-control
Transport modes
Surge Ponte (default)
The server binds to 127.0.0.1 and is reached through Surge Ponte, which provides an end-to-end encrypted device-to-device tunnel without exposing the server to the LAN.
- Install this extension on the Mac that runs
pi. - Enable Surge Ponte on that Mac and give it a device name such as
pi. - On the same Mac, open
piand run the/remote-controlcommand. - Choose
Configure URLand set the base URL to your Surge Ponte hostname, for examplehttp://pi.sgponte. - Choose
Turn on. - Open
Statusto get the QR code and connection URL for the current session. - On another device on the same Surge Ponte network, open that URL in a browser.
In this setup, the browser URL is http://pi.sgponte:<port>, where the port is assigned when the server starts. Use Status to get the current URL or scan the QR code — it changes each time the server restarts.
Tailscale
The server binds to 0.0.0.0 (protected by token auth) and is reachable via your Tailscale tailnet IP. This works on any OS with Tailscale installed — Linux, macOS, Windows — and any device on your tailnet, including Android and iOS.
Setup (host machine running pi)
- Install and log in to Tailscale:
# Linux curl -fsSL https://tailscale.com/install.sh | sh sudo tailscale up # macOS brew install --cask tailscale # Then open Tailscale from Applications and sign in - In
pi, run/remote-control. - Choose Transport: Surge Ponte to switch it to Transport: Tailscale ✓.
- Choose Turn on.
- The connection URL will be shown as
http://100.x.y.z:<port>/?token=...with a QR code.
Connect from Android
- Install Tailscale from the Play Store and sign in to the same tailnet.
- Open
pion the host, run/remote-control, choose Turn on. - Choose Status to see the QR code and URL.
- On Android, open the Tailscale app to confirm the host device is online, then open the URL shown in
pi's status in Chrome (or scan the QR code with your phone's camera). - The web UI loads — you can now send messages and stop the agent from your phone.
Tip: Bookmark the URL in Chrome on your phone so you can reconnect quickly. The session cookie lasts 24 hours. When the server restarts, you'll need the new token URL.
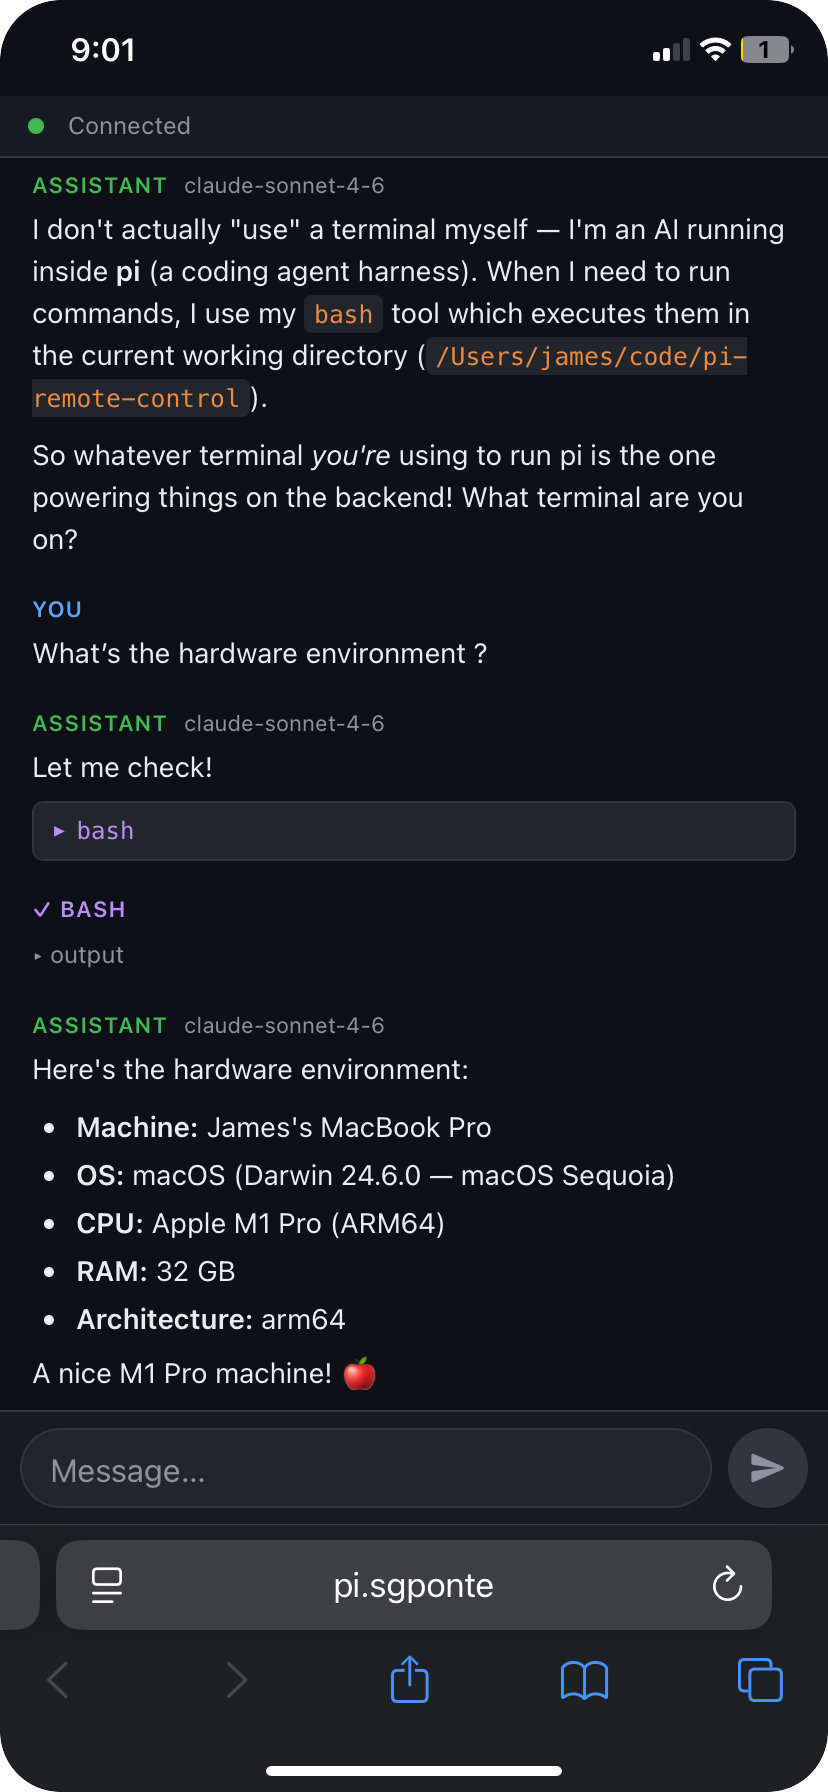
Here's what it looks like on iPhone — this is an actual session asking pi about its hardware environment:
Security notes
- The server only listens on localhost in Surge Ponte mode. In Tailscale mode, it binds to
0.0.0.0but is only reachable via the Tailscale virtual interface (which enforces its own ACLs). - There is no multi-user authentication. Treat the connection URL as a secret for the lifetime of the session.
- If you use a reverse proxy instead of Surge Ponte, configure it to terminate TLS at a fixed
https://endpoint and forward to the server's dynamic backend port. Do not expose the dynamic port directly over a public network, as the server does not support HTTPS and any token or session cookie would be transmitted in cleartext.